

JumpCloud
1. Access to Authentication Settings at Alloy
1.1 Granting Access to the SAML Self-Serve Setup
The agent must either have Admin access or be granted access to a role with the following permissions below via “Roles” to “Authentication Settings.”

1.2 Configuring a Default Role
Before you can use SAML, you MUST configure a default role for your users in the Alloy settings. This role will determine the permissions that your user has when they first log in.
The first time a user logs in using SAML SSO, they will be added to the Alloy system as an "Agent" and will be given this default role. Agents with Admin permission can then go in and assign them a different role, if they need additional privileges.
-
Be sure that you have Admin permission in Alloy and log in to your dashboard.
-
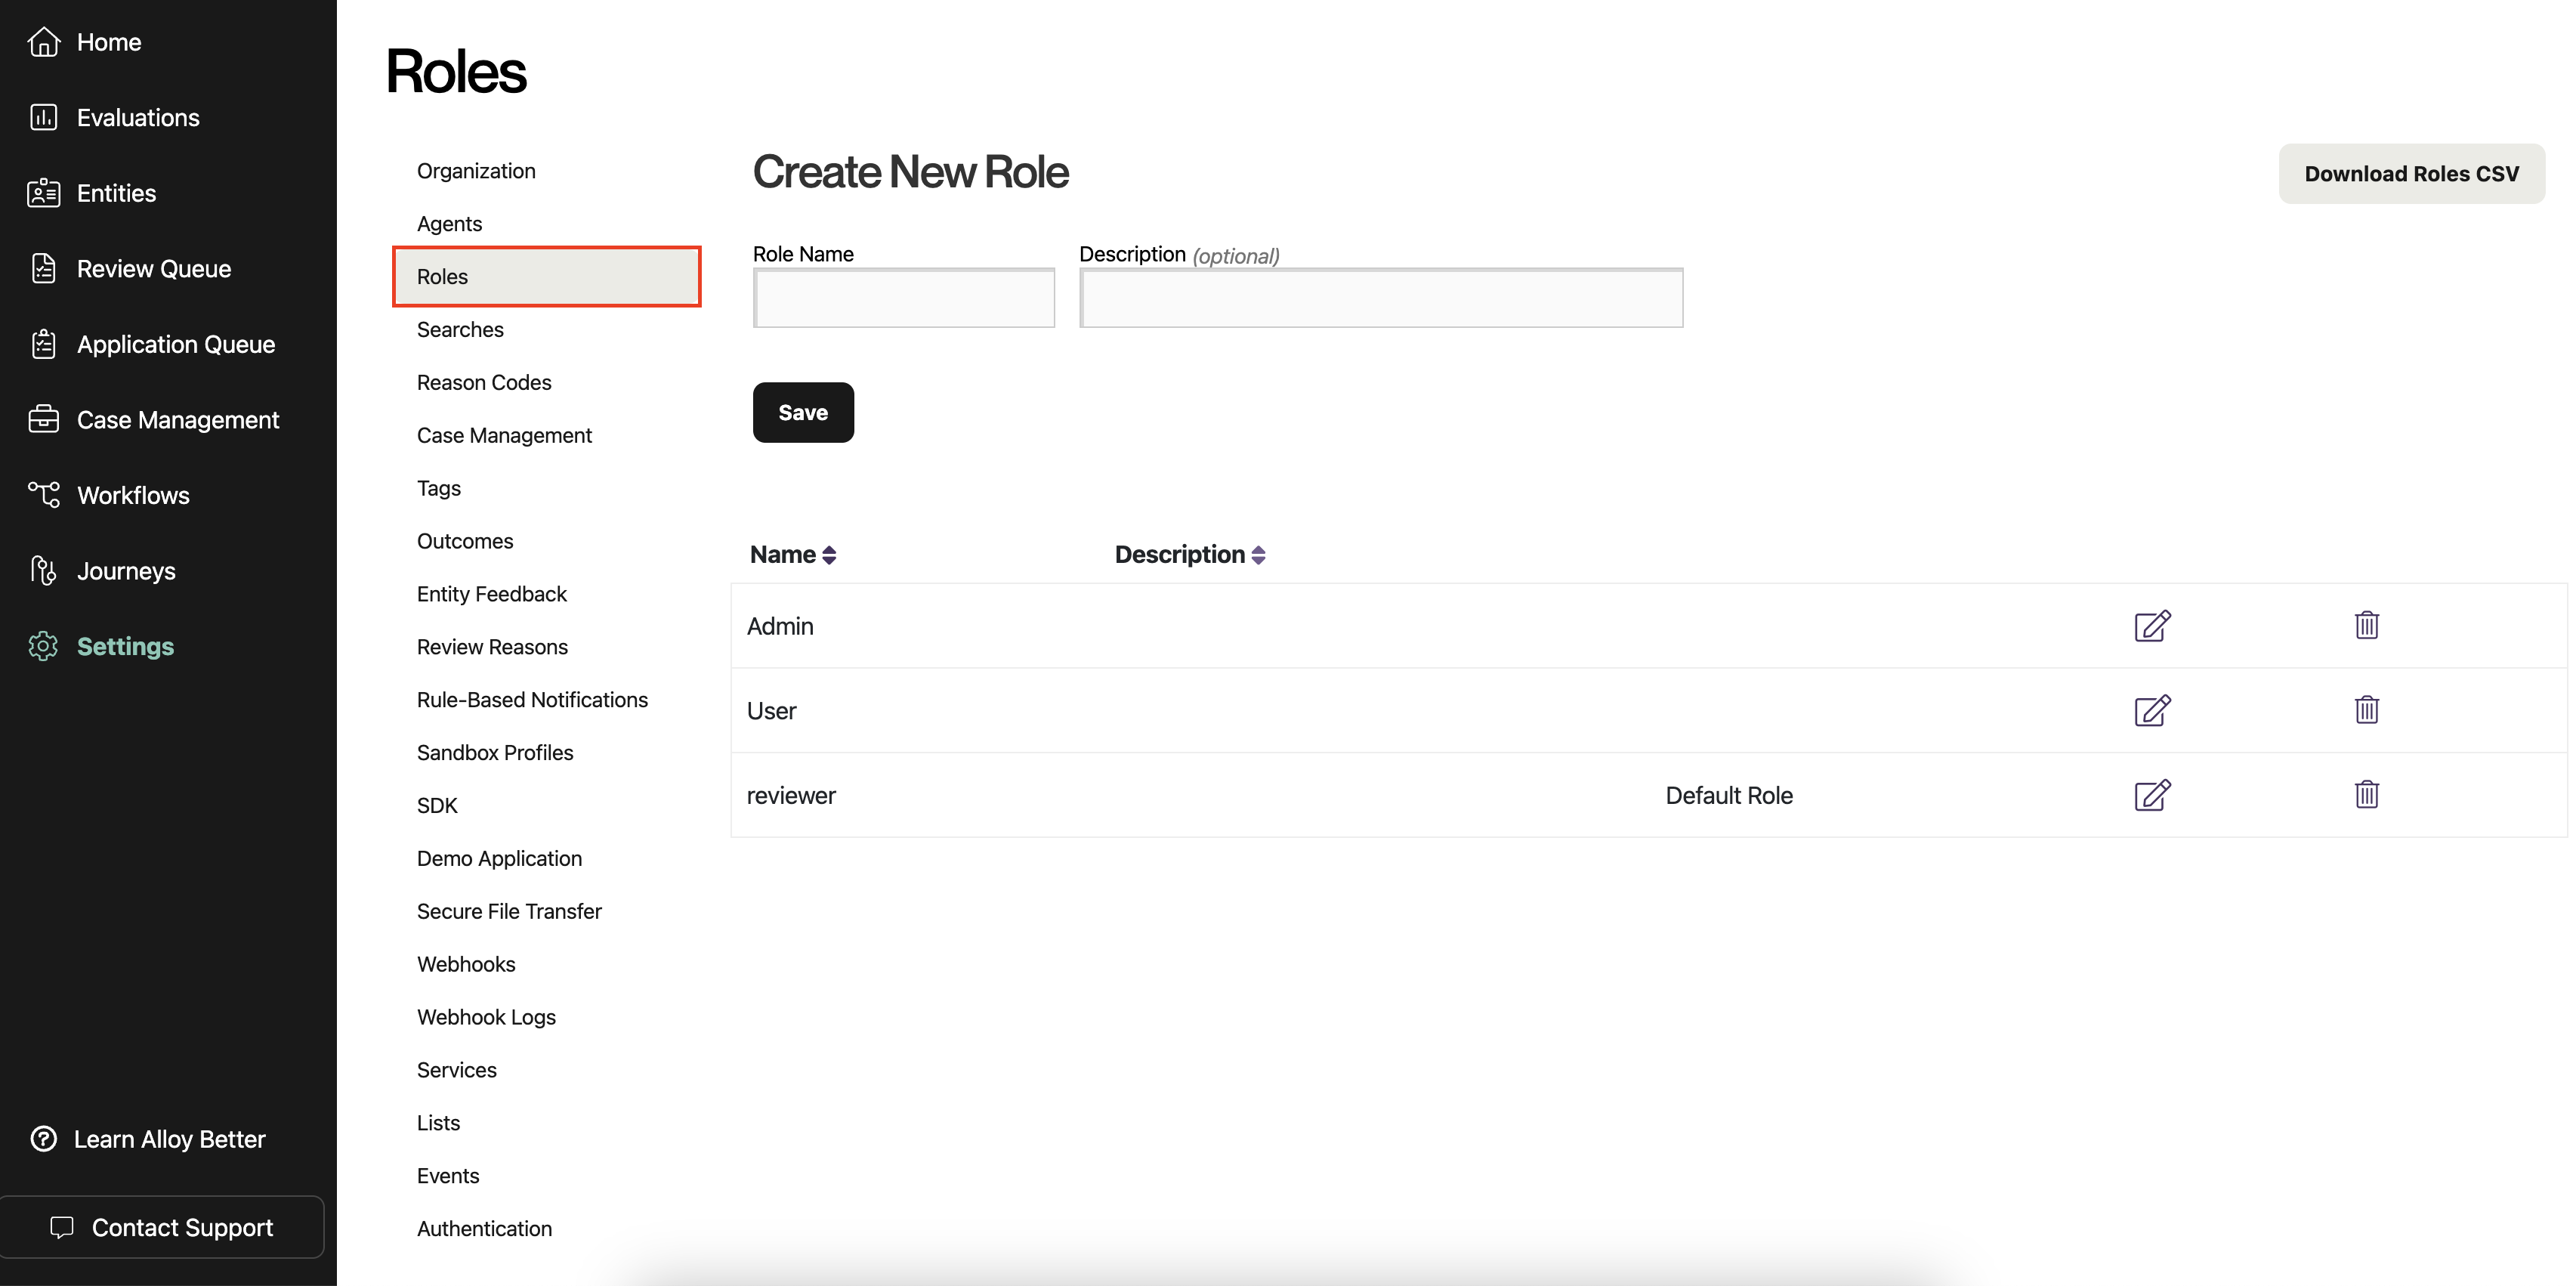
Navigate to Settings in the sidebar, and then select Roles from the list.

-
On the Roles page, you should see a list of roles. By default, these include "Admin" and "User," but your organization may have configured different ones.
-
Select the role that you want to designate as the default for new SAML users. Click the icon with a pencil to edit the role. (You could also create a new role first by filling out the form at the top and clicking "Save.")
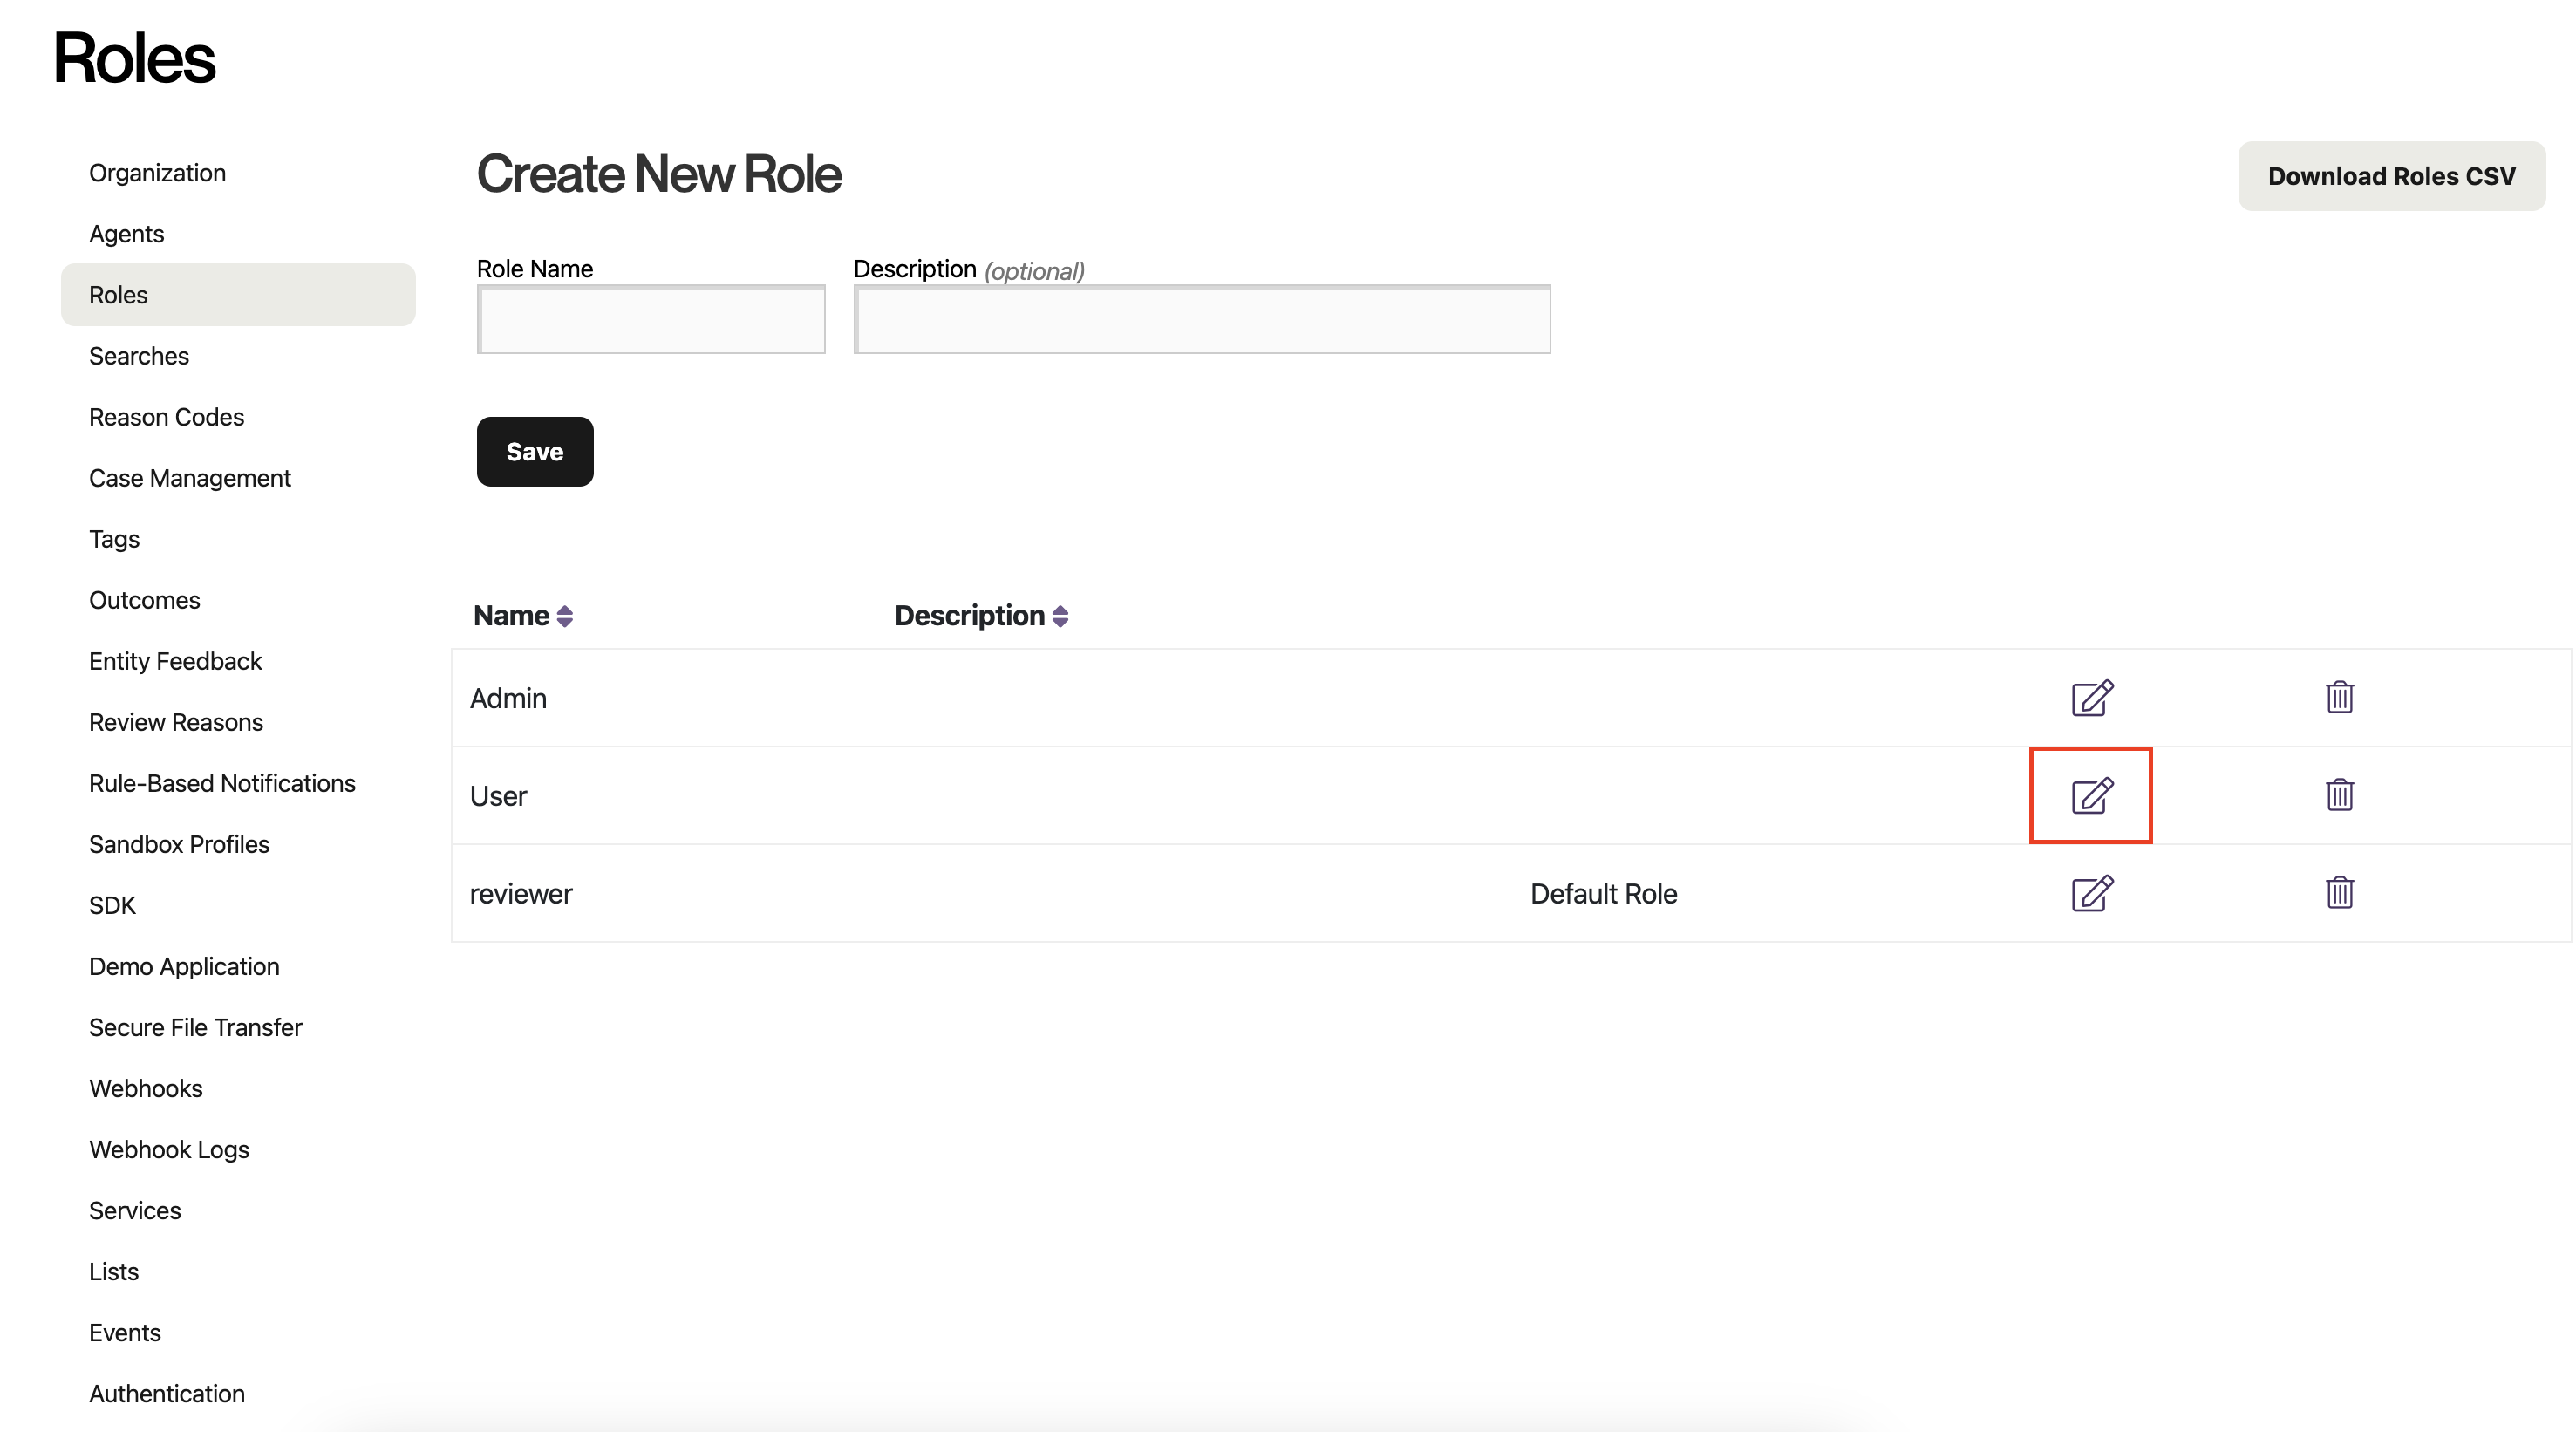
You do not want to select the Admin role, unless you want all of your users to have full control over your data and settings in Alloy.
-
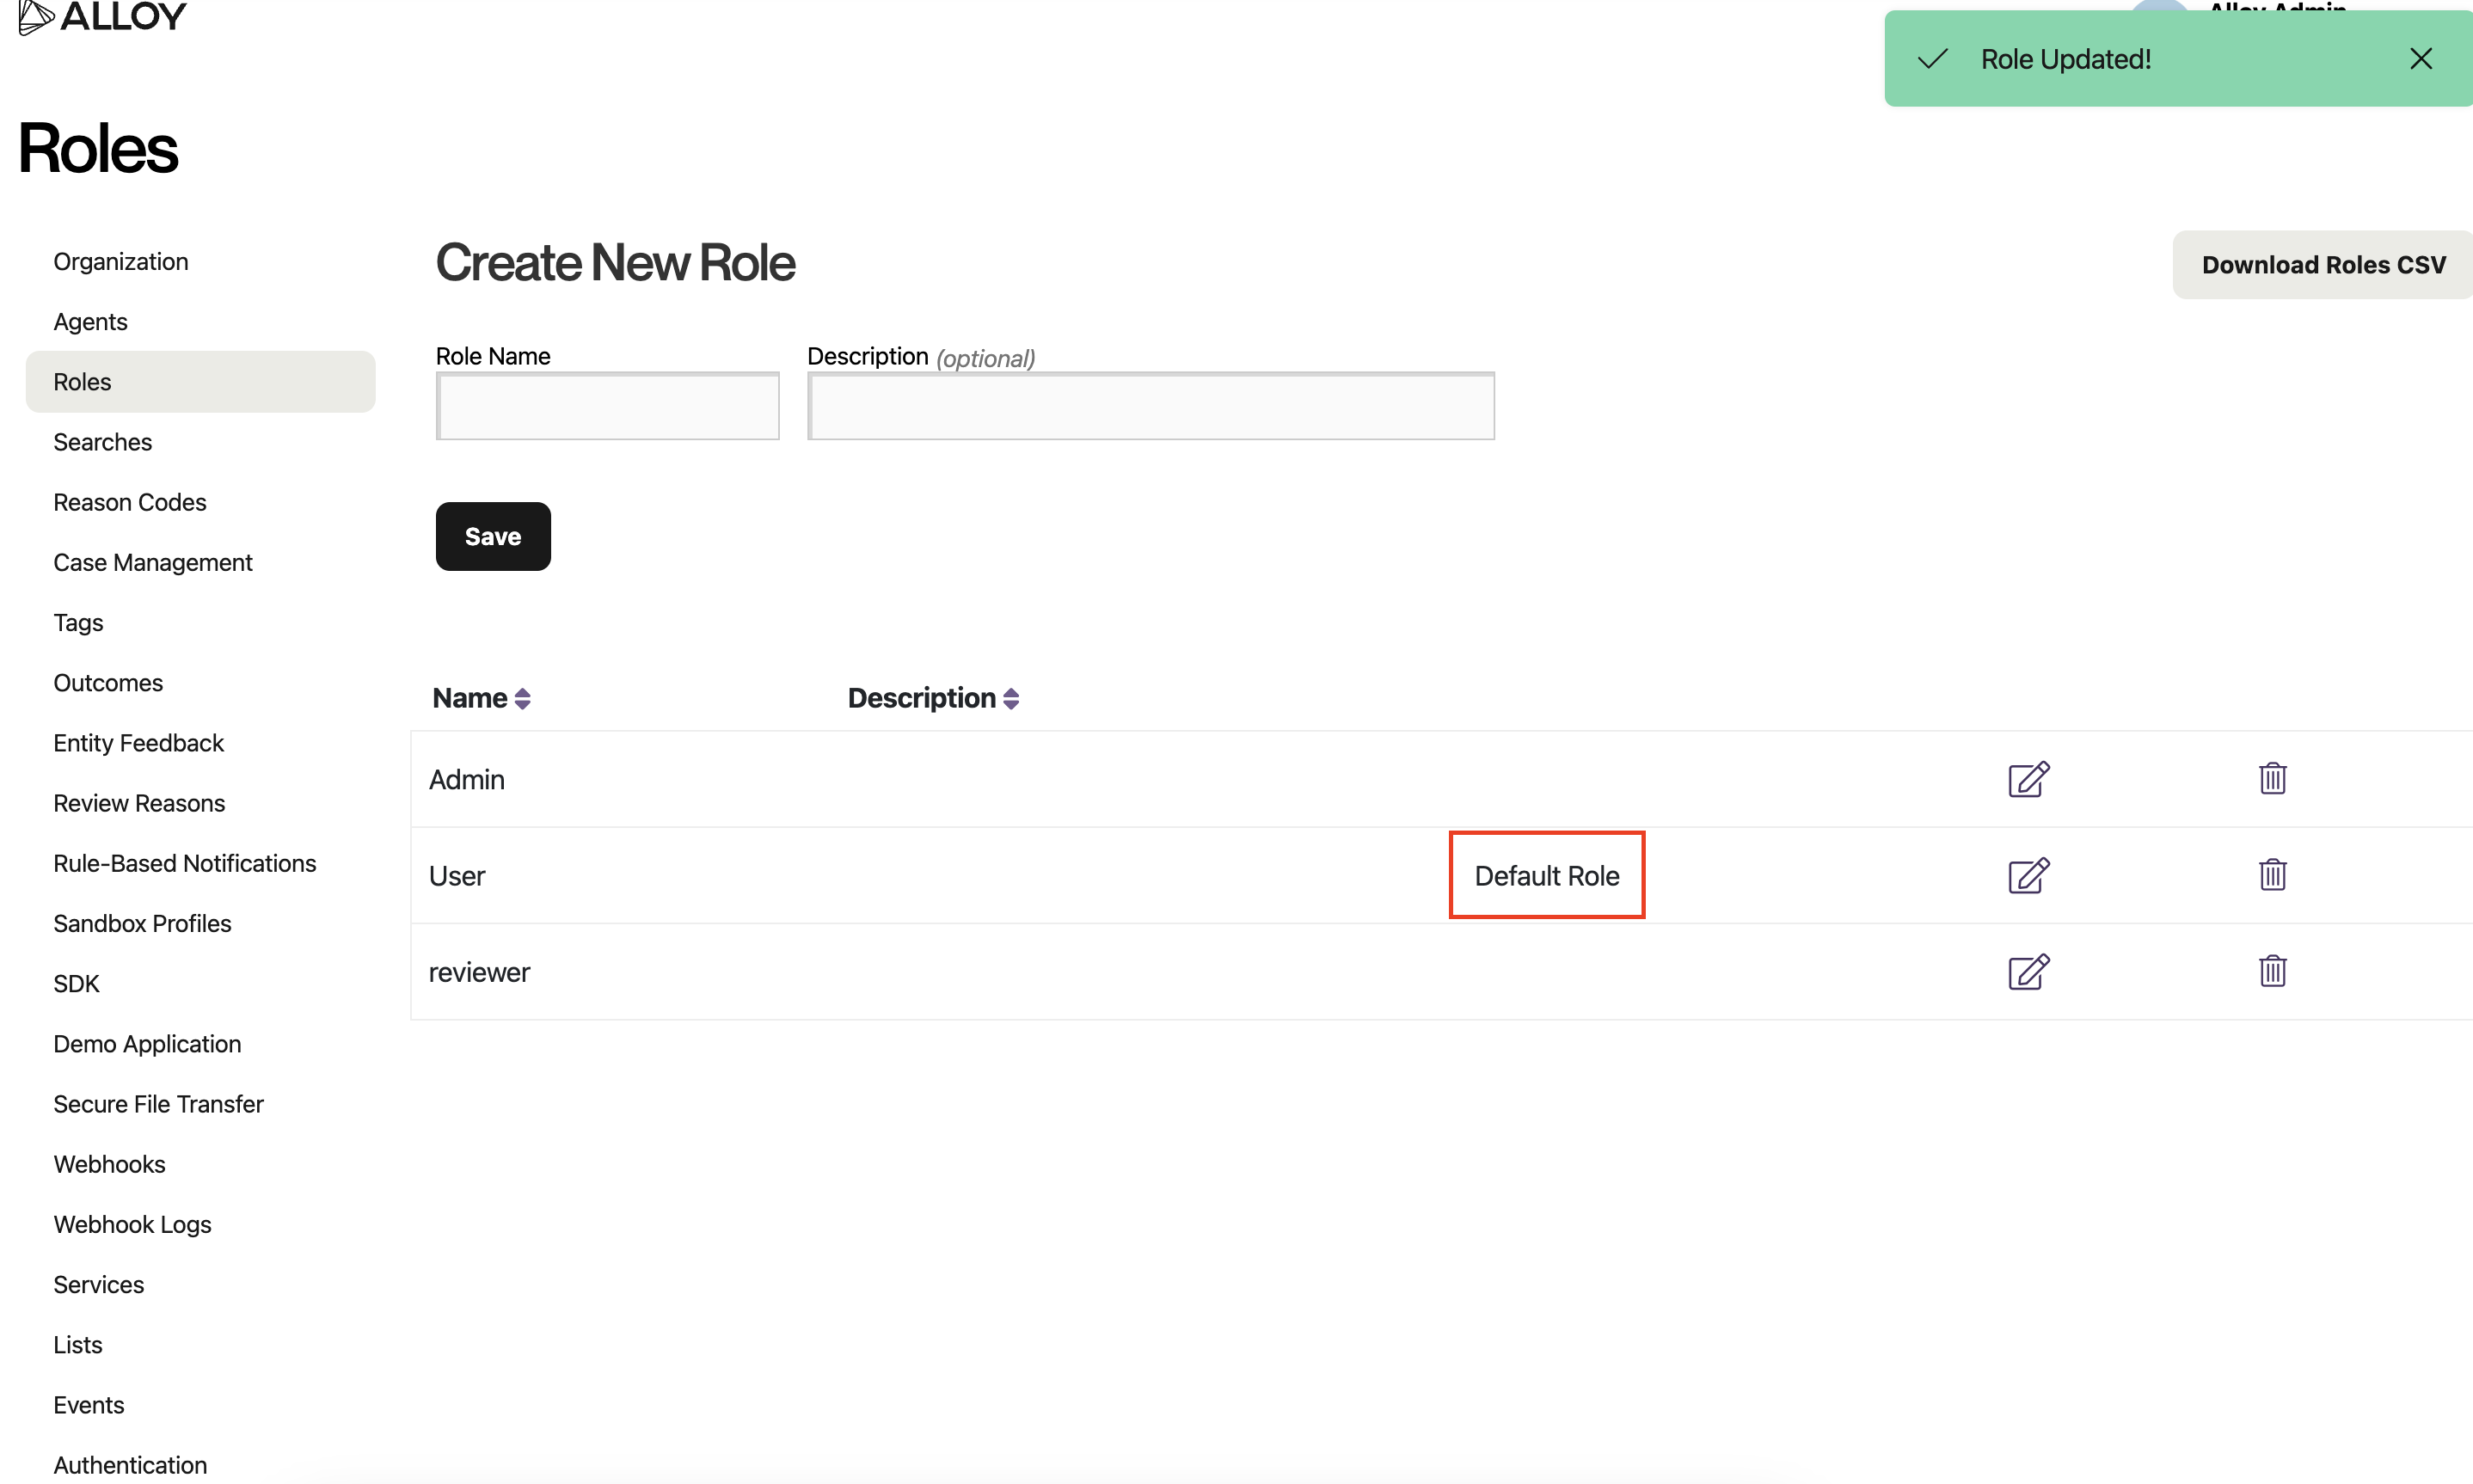
Check the box labeled "Designate this role as the organizational default for new users," and apply your changes by clicking "Save."

-
You have now set a default user role for your organization and are ready to use SAML! Notice the addition of the "Default Role" label that will tell you your default role when you return to this page in the future.
1.3 Setting up SAML
Once your access has been configured, go to “Authentication.”
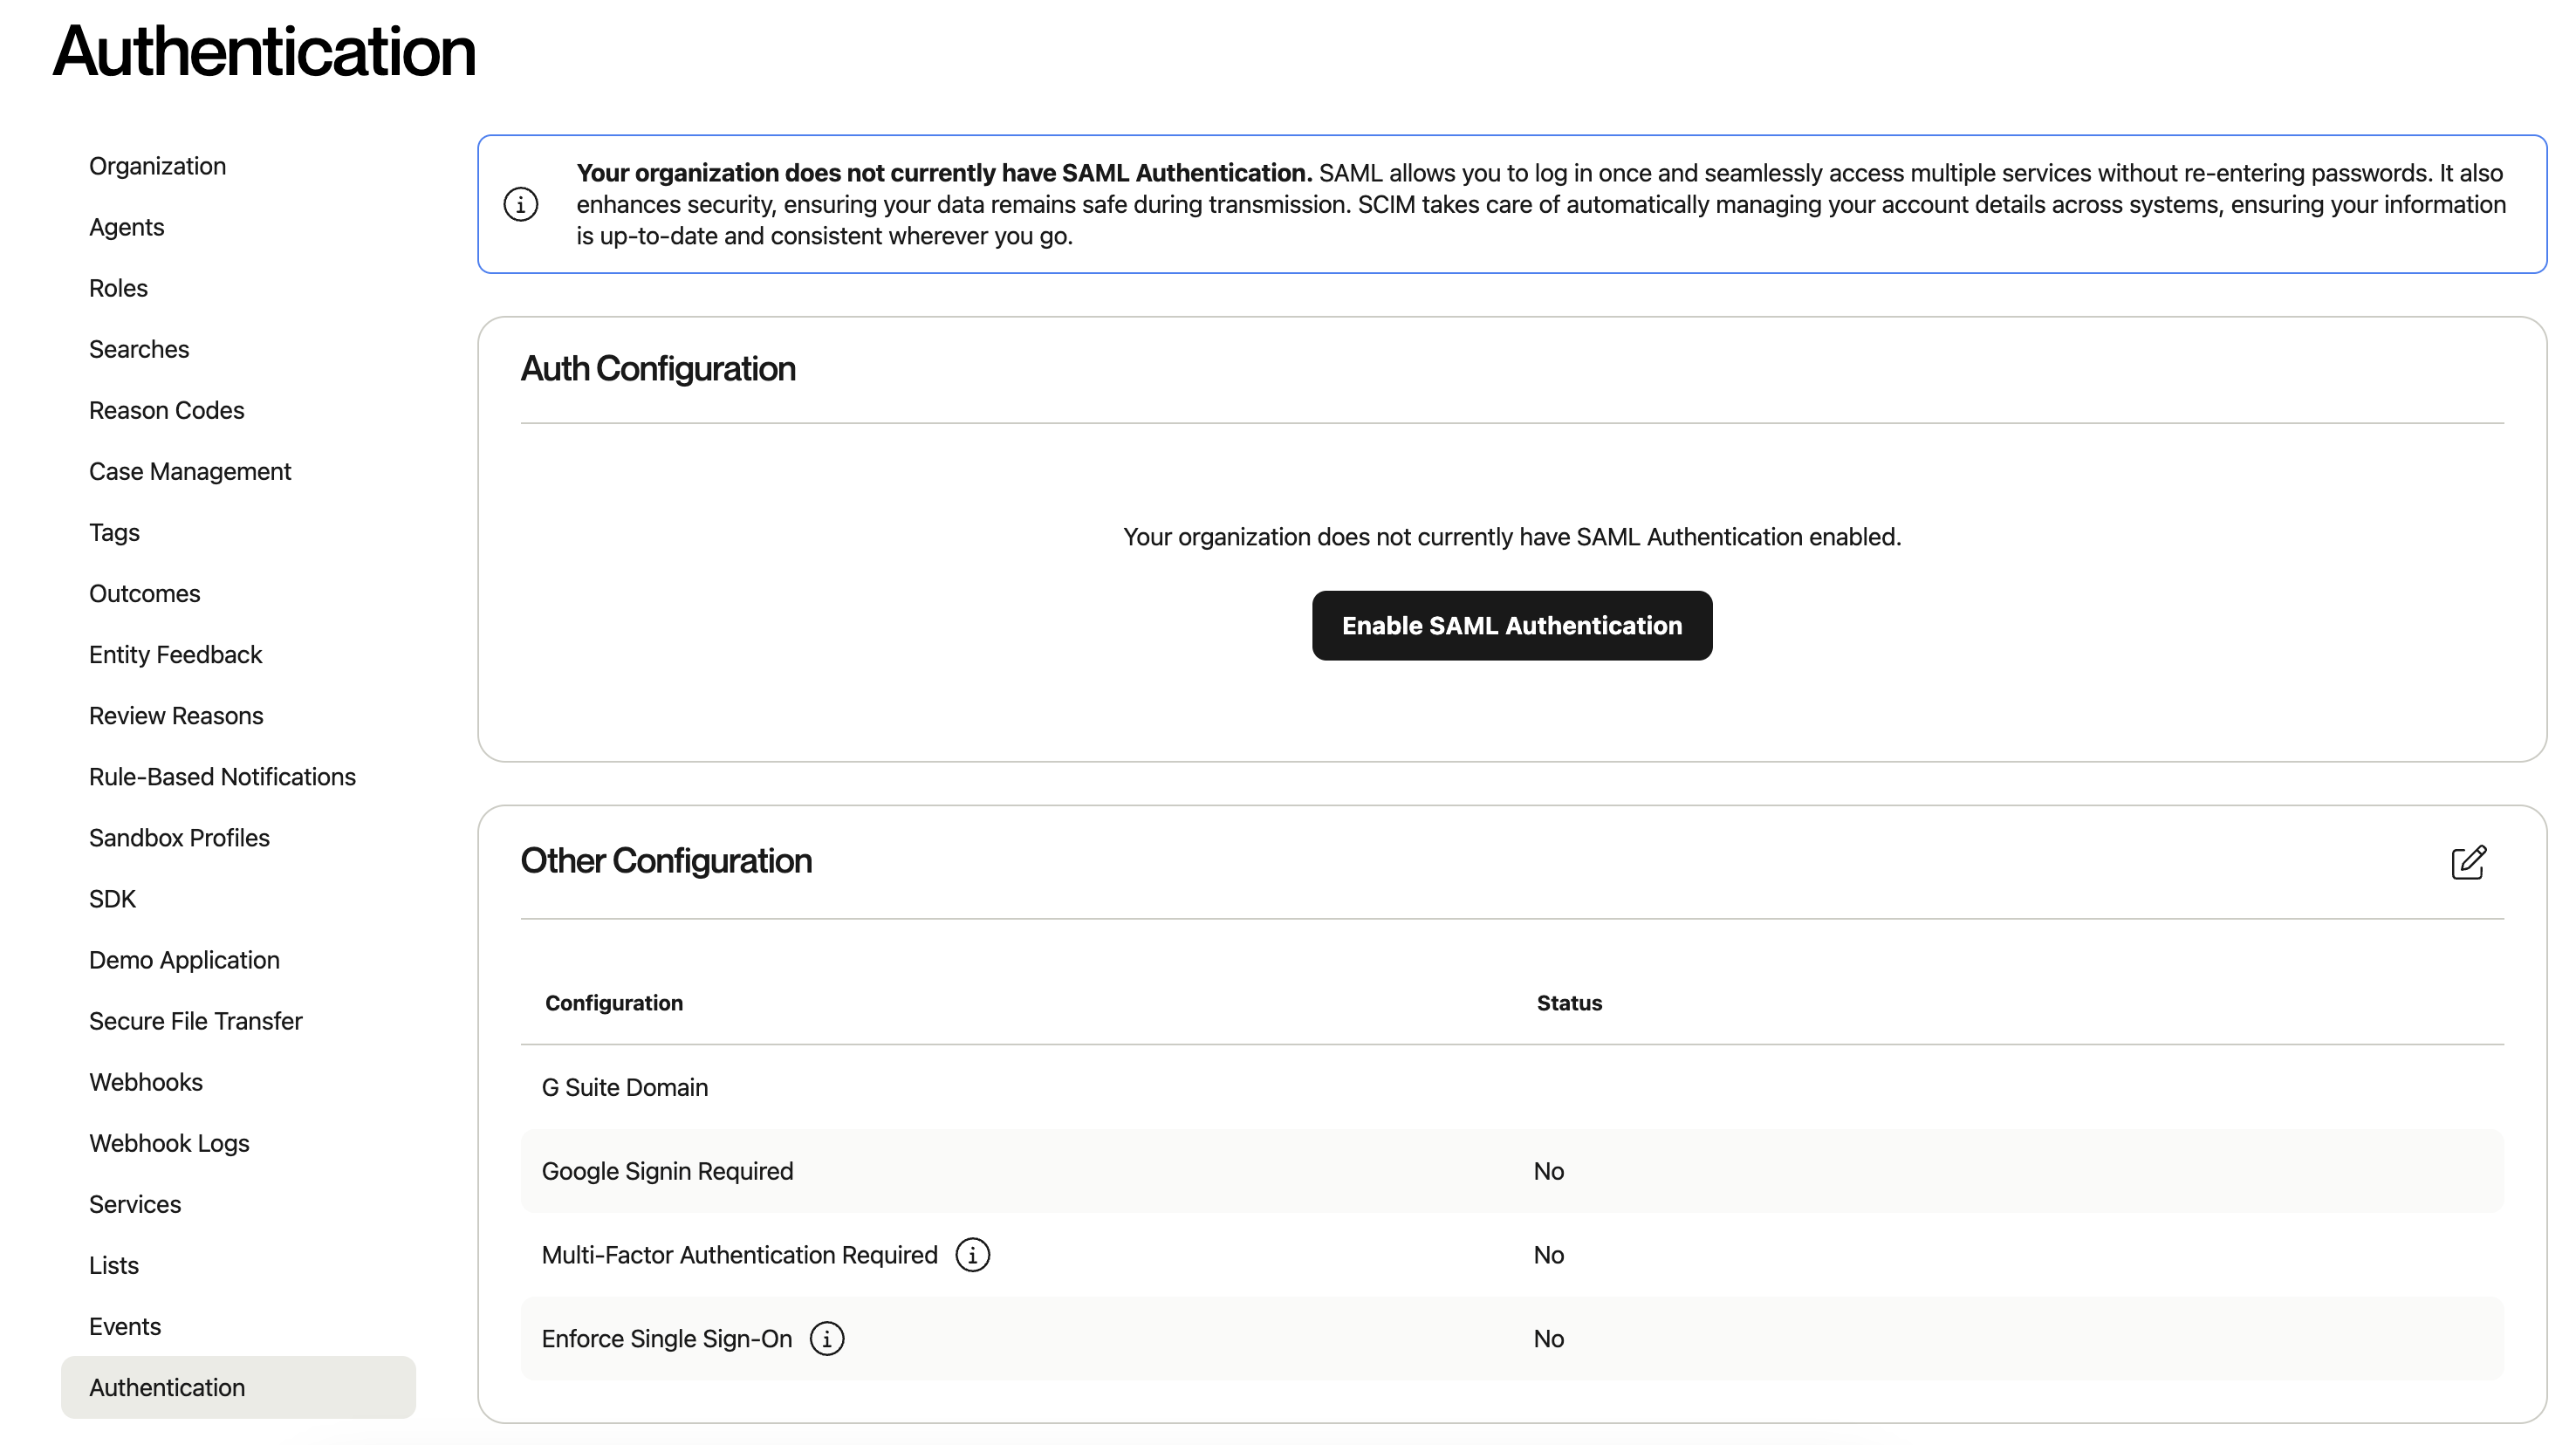
Then, select “Enable SAML Authentication.”
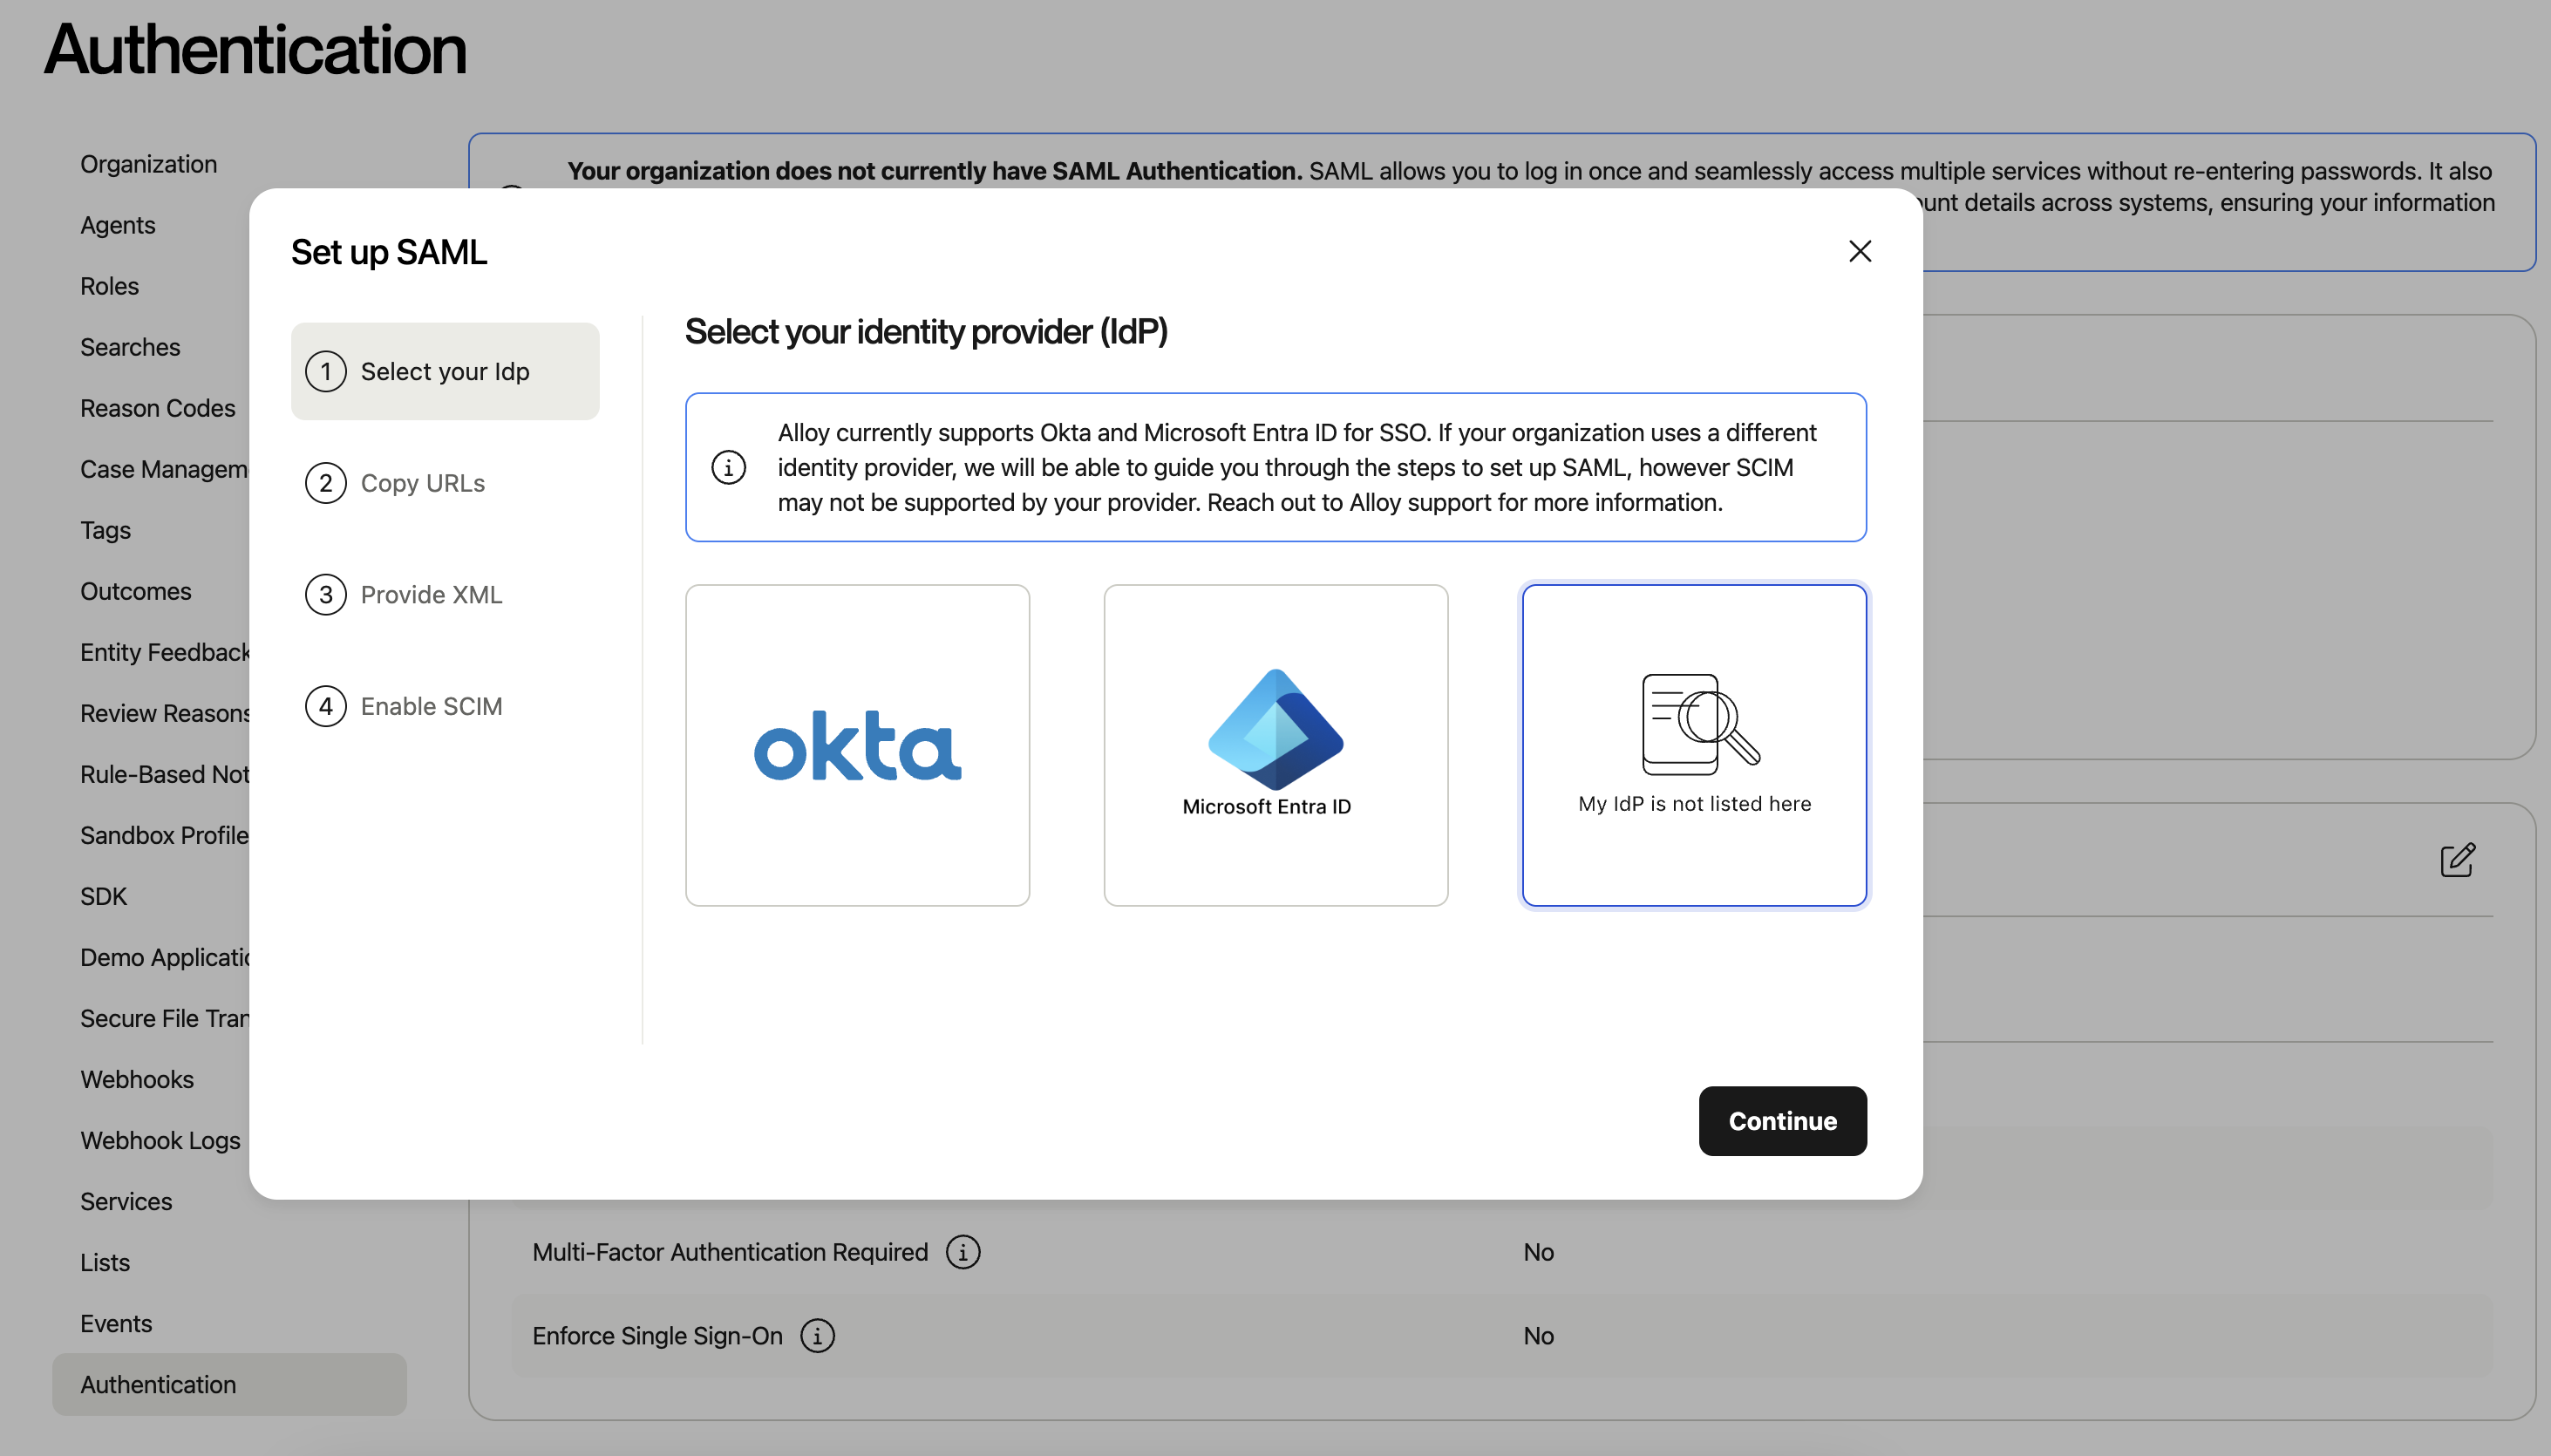
Select My Idp is not listed here box and click Continue.

Take note of the SSO URL and Audience URI.
2. Add Alloy to JumpCloud
2.1 Create an application on JumpCloud


2.2 Configure the Application
-
Add the IdP Entity ID:
- Use a unique Entity ID. The pattern can be
JumpCloud-Alloy-<your-organization-name-slug>. For example:JumpCloud-Alloy-demo-bank.
- Use a unique Entity ID. The pattern can be
-
Add the SP Entity ID:
- This is the
Audience URIshown in step 1.3.
- This is the
-
Add ACS URLs:
- This is the
SSO URLshown in step 1.3.

- This is the
-
Check
Declare Redirect Endpoint:
-
Add Attribute mapping:
Email: User's email address (email).firstName: User's first name (firstName).lastName: User's last name (lastName).phone: User's phone number (phoneNumbers.work).

-
Save your configuration:

-
Download the
Metadata XML. You will need to upload this metadata to Alloy.
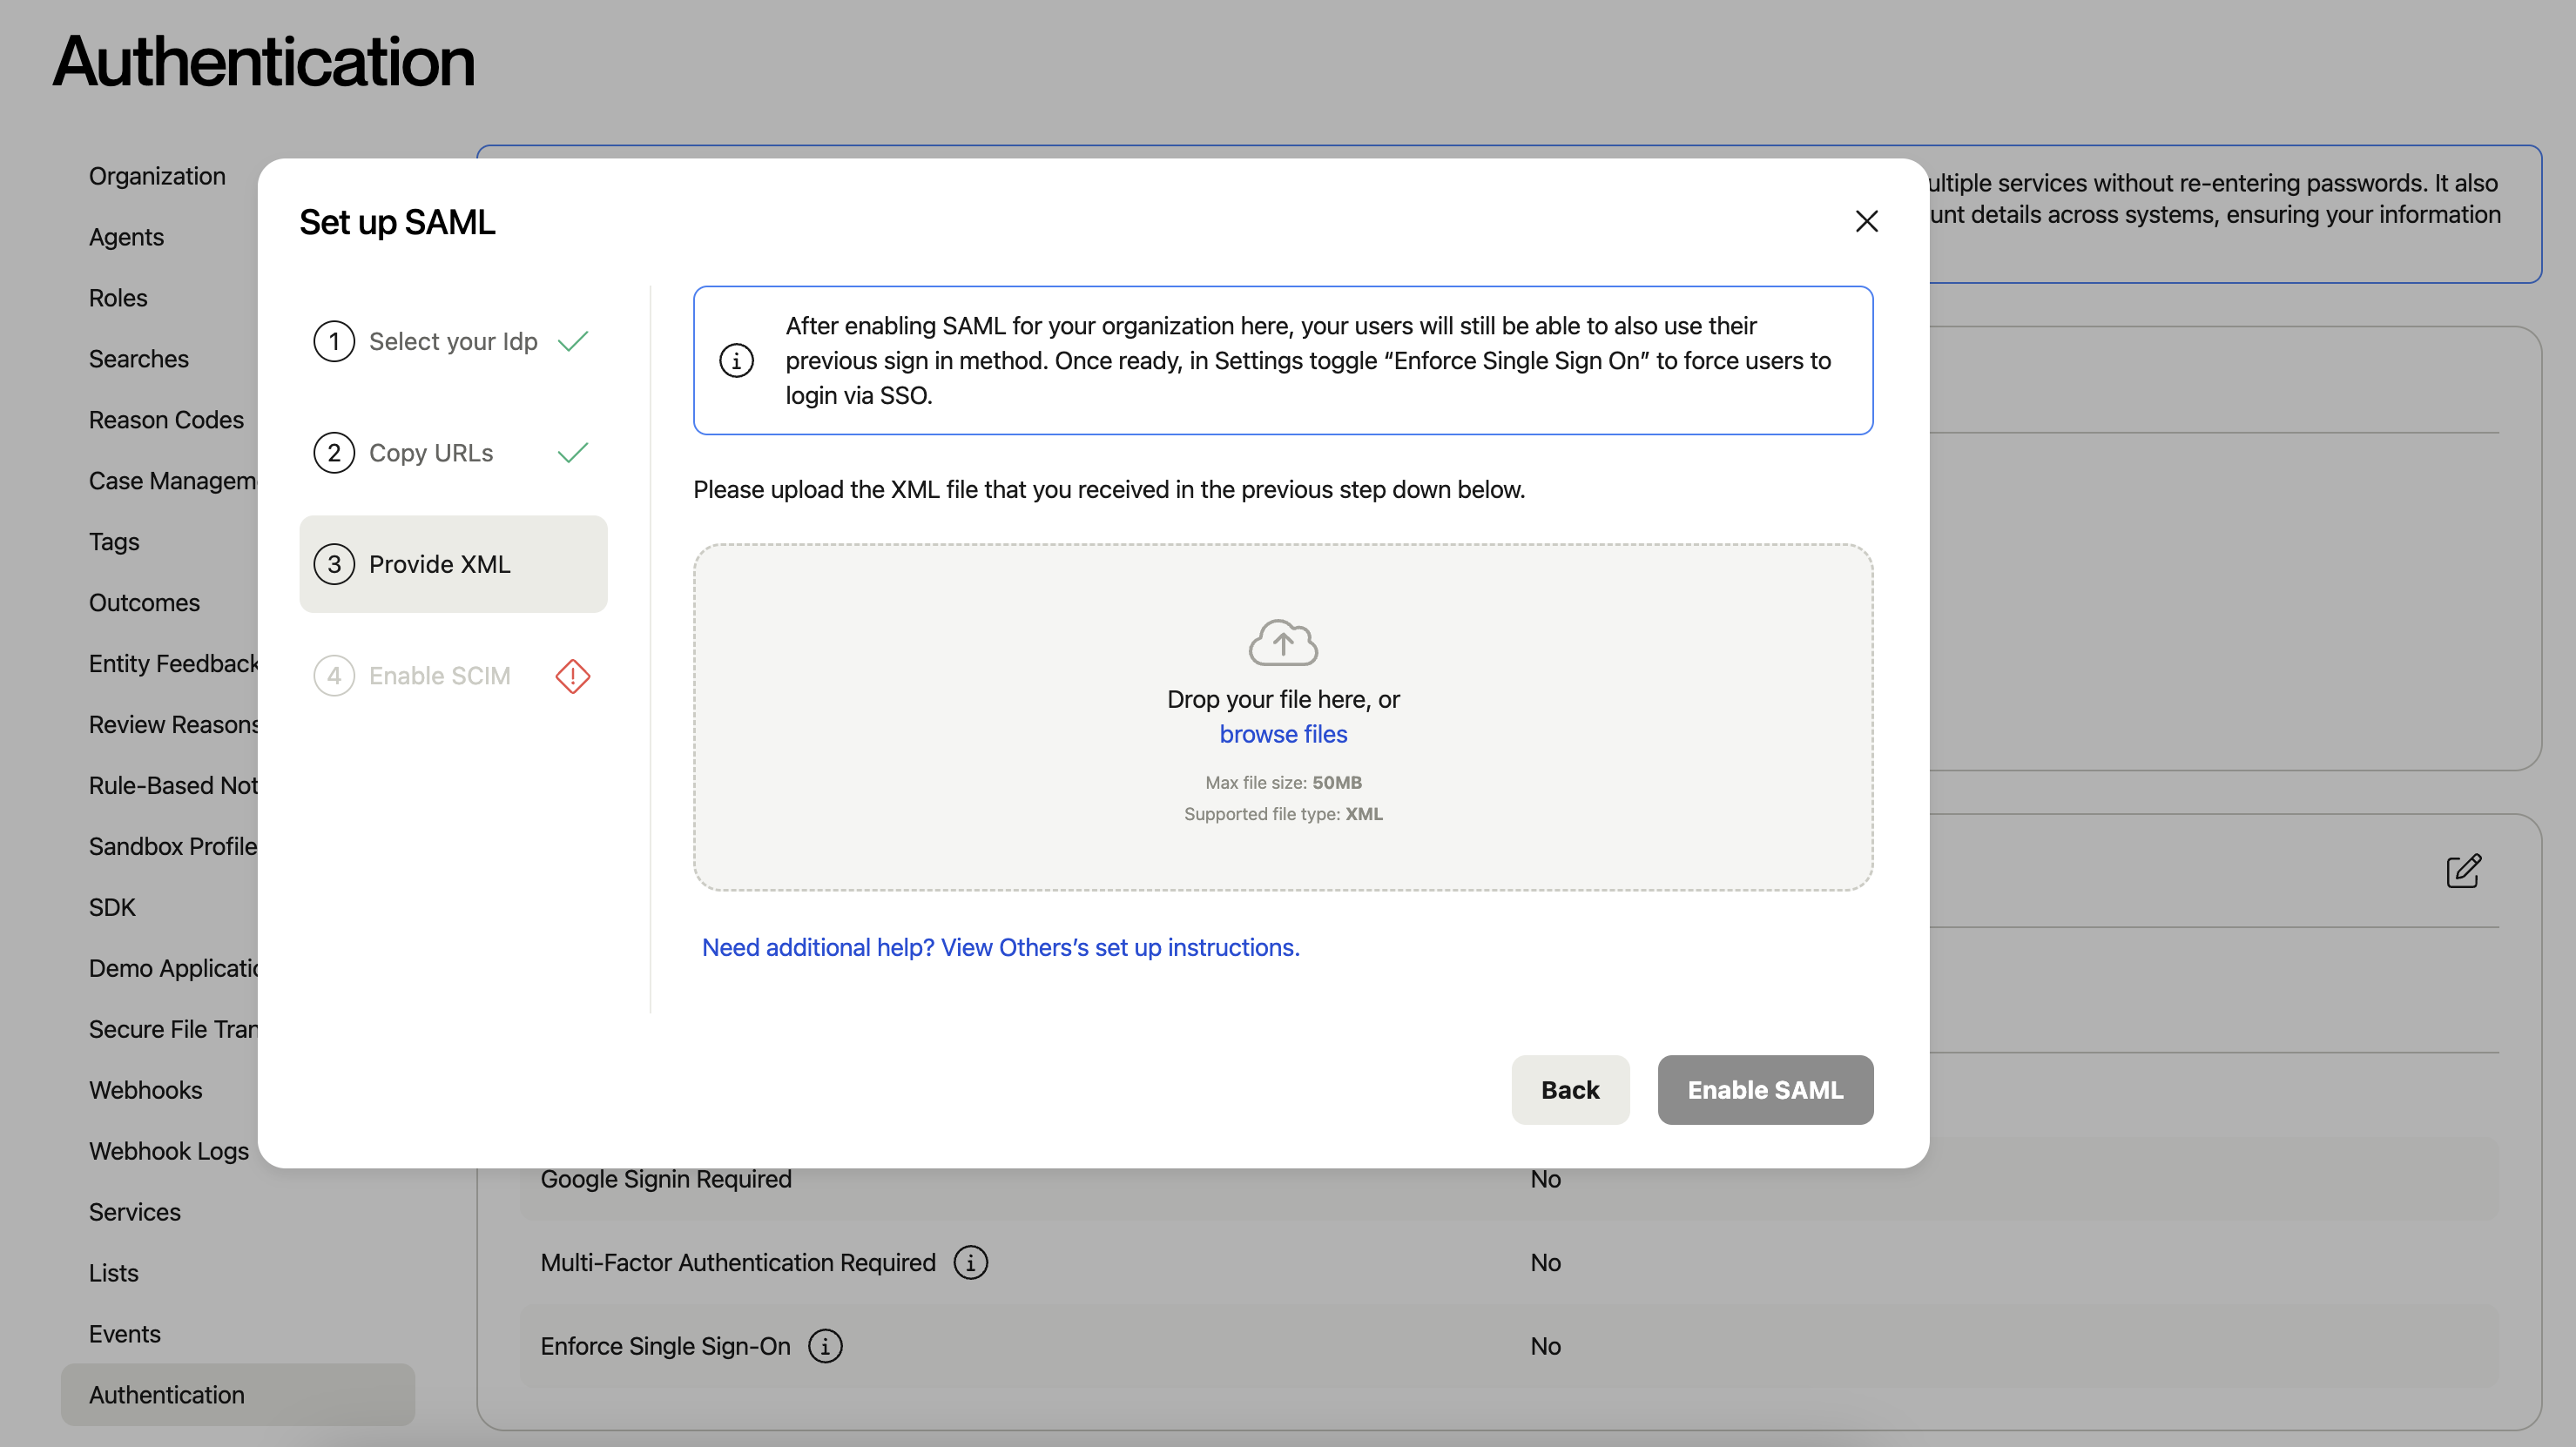
3. Upload the IdP Metadata to Alloy
Upload the Metadata XML file in step 3 of the SAML setup process.
4. Test the Single Sign-On
4.1 Assign the User to the App

4.2 Test SSO with the Assigned User
- Log in to the JumpCloud Portal.
- Test the Single Sign-On process.
5. Other Authentication Settings

- G Suite Domain: Enter the G Suite Domain for Google SSO logins.
- Google Sign-in Required: Force users to log in via Google SSO.
- Multi-Factor Authentication Required: Require MFA if SAML is not enabled.
- Enforce Single Sign-On: Force all users to log in with SSO if enabled.
5.1 SAML Exceptions
If you’d like to grant users the ability to log in via credentials while Enforce Single Sign-On is enabled, configure this via the "SAML Exceptions" section.

Updated 10 months ago